Looking high and traveling far: Machine vision is widely used in the industrial sector
Machine vision is one of the core technologies for industrial automation and intelligentization. Through optical imaging, image processing algorithms, and AI analysis, it simulates human vision to identify, measure, detect, and locate objects in industrial scenarios. It offers advantages such as high precision, high speed, 24/7 continuous operation, and strong anti-interference capabilities. In the industrial sector, machine vision has penetrated the entire production process. The following core application scenarios are explained in detail:
1. Quality Inspection and Defect Detection
Quality inspection is the most mature industrial application area for machine vision. It covers defect screening throughout the entire supply chain, from raw materials to finished products, replacing traditional manual visual inspection and significantly improving accuracy and efficiency.
1. Electronics Manufacturing: Precision Component Defect Detection
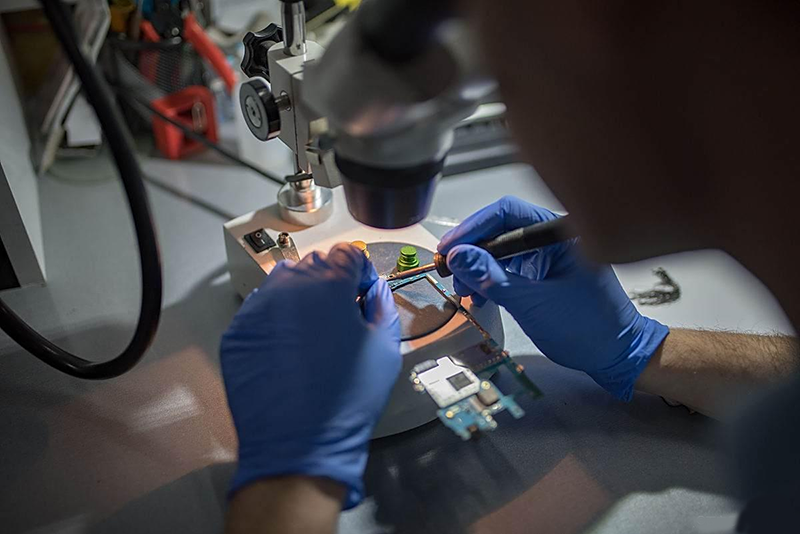
PCB (printed circuit board) inspection (solder joint defects, short circuits, missing components), semiconductor chip defects (scratches, cracks, circuit anomalies), and display inspection (dead pixels, light leakage, scratches). High-resolution industrial cameras (12 megapixels or higher) combined with ring or coaxial light sources use image processing algorithms (such as edge detection and grayscale analysis) to identify tiny defects. Deep learning models can autonomously learn defect characteristics, achieving over 99% accuracy in identifying new defects.
Case Study: A mobile phone screen factory introduced a machine vision inspection line, increasing inspection speed from 30 pieces/hour (a manual process) to 800 pieces/hour and reducing the missed detection rate from 5% to 0.1%.
II. Automated Assembly and Precision Positioning
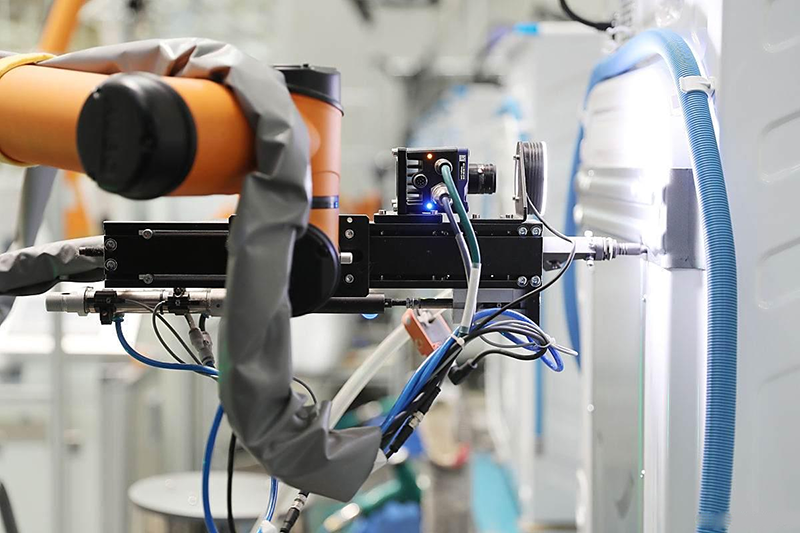
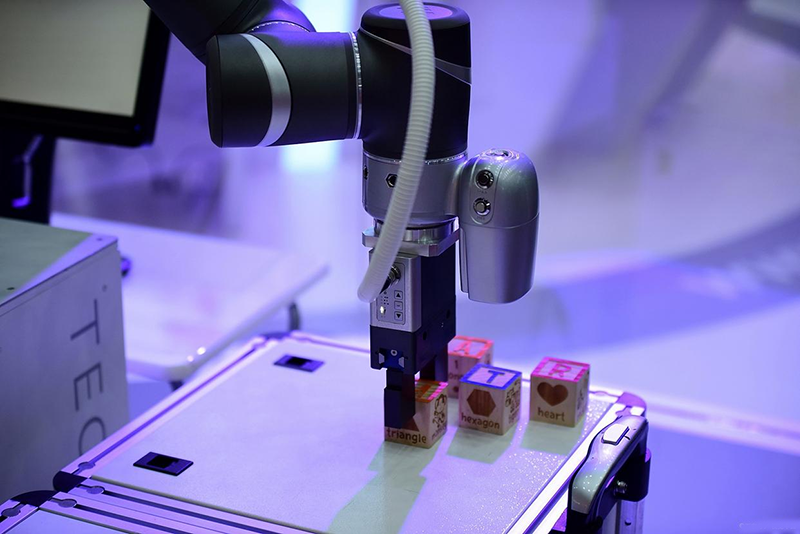
In automated production lines, machine vision can guide robotic arms or equipment to perform high-precision assembly, addressing the low efficiency and large errors associated with manual assembly. It is particularly suitable for assembling tiny parts or complex structures.
1. 3C Industry: Micro-Parts Assembly
Applications: Mobile phone camera module assembly (alignment error of lenses, sensors, and motors must be ≤5μm), laptop keyboard key installation, and connector pin alignment. Technical Principle: Using binocular vision or structured light 3D imaging, the 3D coordinates of parts are acquired, assembly position deviations are calculated in real time, and compensation signals are sent to the robotic arm, achieving closed-loop "vision-motion" control.
A camera module manufacturer uses machine vision to guide its assembly line, reducing lens and sensor alignment time from 15 seconds per unit (manually required) to 2 seconds per unit, and increasing assembly yield from 82% to 99.5%.
2. Automotive Manufacturing: Component Assembly Positioning
Bolting and positioning of engine blocks and cylinder heads, alignment of automotive glass and bodywork, and automated connection of wiring harness connectors and interfaces.
Advantages: It can accommodate minor part deformations caused by machining errors, achieving positioning accuracy of ±0.02mm, over 25 times higher than manual positioning (±0.5mm accuracy).
3. Industrial Robot Guidance and Navigation
Machine vision provides industrial robots with "eyes," enabling them to autonomously identify their environment and plan paths, adapting to flexible production requirements (such as high-variety, low-volume production).
1. Welding Robot Guidance
Automotive chassis welding (weld seam position can vary by ±1mm due to component tolerances) and steel structure welding (complex weld seam trajectory identification).
A laser profile sensor scans the weld surface, generating 3D point cloud data. An algorithm extracts the weld seam center trajectory and corrects the robot's welding path in real time, ensuring a relative position error of ≤0.3mm between the welding torch and the weld seam.
2. AGV (Automated Guided Vehicle) Navigation
Material handling on factory floors (such as the transfer of automotive parts from warehouses to production lines) and the connection between shelves and AGVs in warehouse logistics.
Using ground QR code recognition, visual SLAM (Simultaneous Localization and Mapping), or visual landmarks (such as reflectors) for positioning, AGVs achieve centimeter-level navigation, providing greater flexibility than traditional magnetic navigation (allowing for rapid route changes).
IV. Logistics and Warehouse Automation
In industrial logistics, machine vision supports rapid sorting, palletizing, and information traceability of goods, making it a core technology for smart warehousing.
1. Intelligent Sorting and Barcode Recognition
Package sorting in e-commerce warehouses (recognizing barcodes/QR codes on shipping labels and assigning them to corresponding areas) and industrial parts warehousing (recognizing part numbers and automating inbound and outbound delivery).
High-speed line scan cameras (frame rate ≥500 fps) combined with image recognition algorithms can quickly decode blurred and tilted (±30°) barcodes at a conveyor speed of 1.5 m/s, with a recognition rate of 99.9%.
2. Unordered Palletizing and Depalletizing
Unordered stacking of cartons and metal parts (such as automated stacking of logistics turnover boxes) and depalletizing of raw materials (such as sheets and pipes) are performed online.
3D vision sensors (such as LiDAR and structured light cameras) scan the three-dimensional shape of objects, use algorithms to determine grasping points, and guide robotic arms to accurately grasp and stack items from unordered piles according to specific patterns, increasing efficiency by over five times compared to manual labor.
V. Industrial Metrology and Dimensional Measurement
Machine vision enables non-contact, high-precision measurement, avoiding the damage to parts caused by traditional contact measurement methods (such as calipers and micrometers). It is also suitable for measurement in harsh environments such as high temperature and high pressure.
1. Precision Part Dimensional Measurement
Bearing inner and outer diameter measurements (accuracy ±0.001mm), gear pitch and tooth thickness measurements, and contour dimension inspection of aerospace parts (such as turbine blades).
Using a telecentric lens (eliminating perspective error) and a high-precision calibration plate, a sub-pixel edge extraction algorithm calculates part parameters such as length, angle, and roundness, with a measurement speed of up to 1000 units per minute (per part).
2. Large Object Measurement
Steel plate flatness measurement (range 10m x 2m), pipe diameter and wall thickness inspection, and dimensional verification of building components (such as steel beams).
Multi-camera stitching technology (using an image stitching algorithm to combine the fields of view of multiple cameras) combined with a laser displacement sensor enables full-area measurement of large objects with an accuracy of ≤0.1mm/m.
VI. Industrial Code Reading and Information Traceability
Across the entire lifecycle of industrial production, machine vision can recognize characters, barcodes, and QR codes on part surfaces, enabling product traceability, quality tracing, and process control.
1. DPM (Direct Part Mark) Code Recognition
Recognizes laser-engraved codes (high-temperature and wear-resistant) on automotive engine blocks, reads etched codes on aviation parts, and recognizes traceability codes on medical devices.
For low-contrast codes on rough surfaces (such as metal and plastic), special light sources (such as circular low-angle light sources) are used to enhance contrast. Combined with a deep learning OCR algorithm, recognition accuracy reaches over 99.5% (even with incomplete codes).
2. Batch Product Information Entry
Automatically enters parameters (resistance and capacitance) of electronic components (resistors and capacitors) into the system, and recognizes production dates and expiration dates on food packaging.
Replacing manual data entry, this process increases speed by over 10 times and reduces error rates from 3% to 0.01%.
VII. Special Industrial Applications
In harsh environments such as those characterized by high temperature, high pressure, toxicity, and dust, where human intervention is difficult, machine vision becomes the only viable monitoring method.
Metallurgical Industry: Surface defect detection of continuous casting billets (using a fusion of infrared and visible light cameras in high-temperature environments).
Chemical Industry: Liquid level monitoring in sealed tanks and pipeline leak detection (using visual recognition of abnormal bubbles or color changes).
Mining Industry: Material type identification and flow measurement on conveyor belts (using image segmentation algorithms to distinguish between ore and waste rock).
Summary: The Industrial Value of Machine Vision
Machine vision, through its closed loop of "perception-analysis-decision-making," is driving the evolution of industrial production from manual labor to fully automated, high-precision, and traceable processes. Its core value lies in:
Efficiency Improvement: Single-step processing speeds increase 10-100 times, adapting to the demands of high-speed production lines;
Quality Assurance: Defect detection accuracy exceeds 99%, reducing defective product rates;
Cost Reduction: Replacing 50%-80% of manual inspection/operation positions, saving 100,000-300,000 yuan per person per year;
Flexible Production: Algorithms enable rapid switching of inspection/positioning models, adapting to high-variety, small-batch production (e.g., reducing 3C product changeover time from hours to minutes).
With the advancement of deep learning, 3D vision, and high-resolution imaging technologies, the application of machine vision in the industrial sector will further evolve towards greater intelligence, precision, and generalizability, becoming a core supporting technology for Industry 4.0 and intelligent manufacturing.

