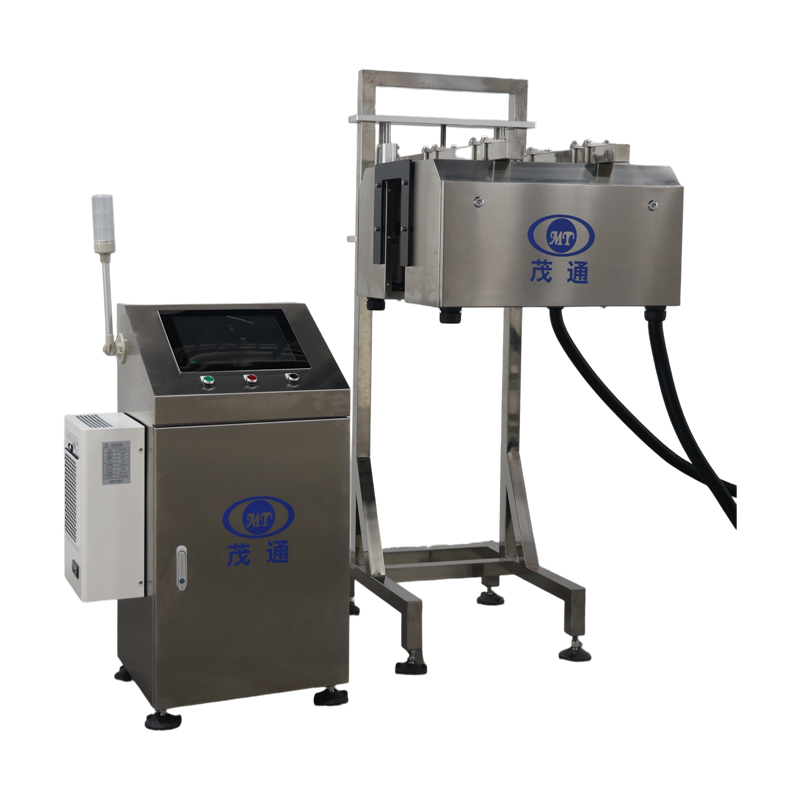
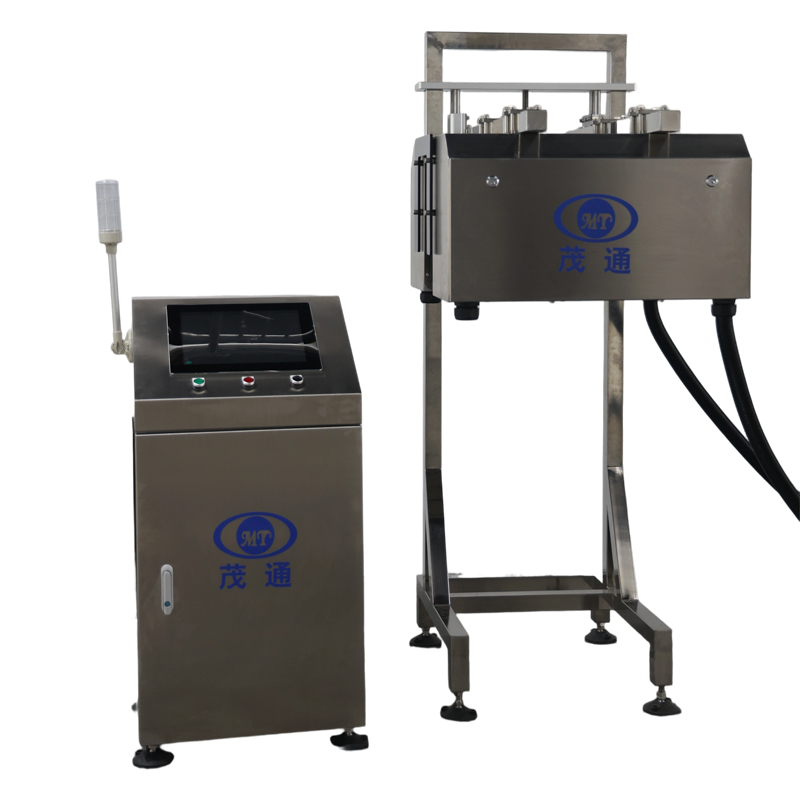
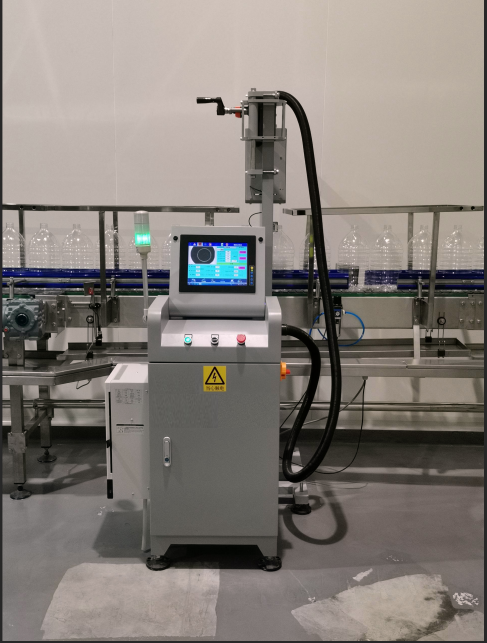
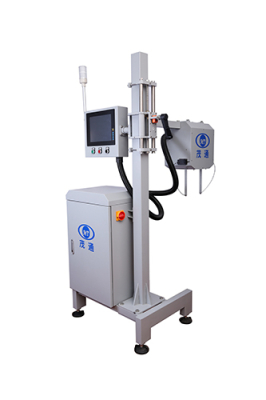
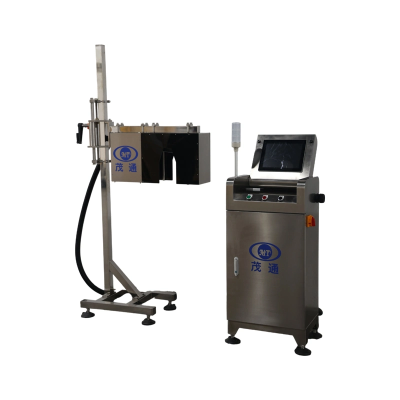
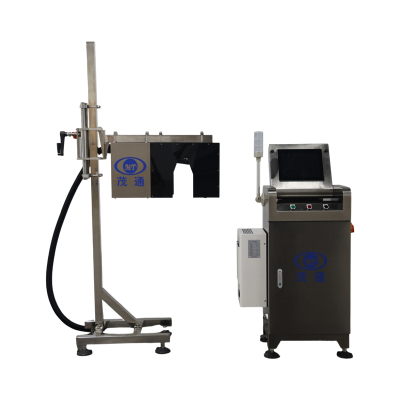
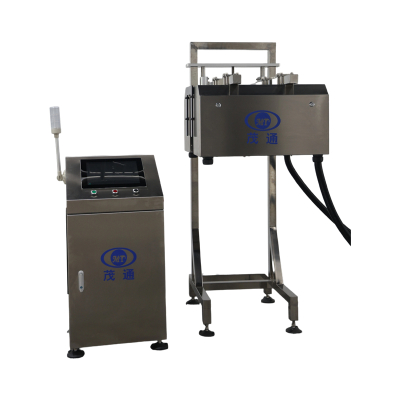
Bottles Mouth Inspection Machine
1.Double evaluation ring technology to detect bottle mouth reliablely and stablely
2.The bottle mouth image is divided into several grades, and the evaluation method is accurate and precise
3.Using an independently developed image processing system, the maximum speed is up to 60000 BPH
1. Project Overview
1.1 Project Name: Online Bottle Finish Inspection System
This system adopts advanced machine vision technology to automatically and non-contactly inspect glass bottle finishes for deformation and breakage during production.
The system is designed for a rated capacity of 48,000 bottles per hour.
Environmental Conditions
Operating Altitude: 5–3000 meters above sea level
Operating Temperature: 5°C – 40°C
Relative Humidity: 50% – 65% RH
Factory Requirements: Floor flatness, load-bearing capacity, and other site conditions must comply with national standards to ensure stable and reliable equipment operation.
Storage Requirements: After delivery, equipment and components must be stored in facilities meeting national standards. Proper lubrication and maintenance should be carried out during storage to avoid corrosion, surface damage, or deformation that may affect installation, commissioning, or future operation.
Equipment Operating Conditions
Noise Level: ≤85 dB (actual noise may vary depending on the type of container/package, machine power, building acoustics, and other environmental factors).
Power Supply Connection: From the customer’s main electrical cabinet to the equipment control cabinet.
Main Power Supply: 3 × 380V AC ±10%, 50 Hz, 3PH + N + PE
Lighting Power: 220V AC, 50 Hz, single-phase
(Special voltage requirements must be specified in advance, as they may affect specifications, delivery schedule, and pricing.)Total Power Consumption: Approx. 1.0 kW
Control Voltage: 24 VDC
Compressed Air Requirement: 4–6 bar (customer to provide the air pipeline connection between the source and the main unit).
Equipment Description
4.1 Bottle Finish Inspection Machine
Equipment Name: Bottle Finish Inspection Machine
Model: MT-PK021
Quantity: 1 set
Rated Capacity: 48,000 bottles/hour
Applicable Containers: PET / PE bottles
Compatible Production Line: 48,000 bottles/hour line
Installation Position: Installed within the blow molding machine, either at the bottle discharge section or along the conveyor chain.
4.2 System working principle and process
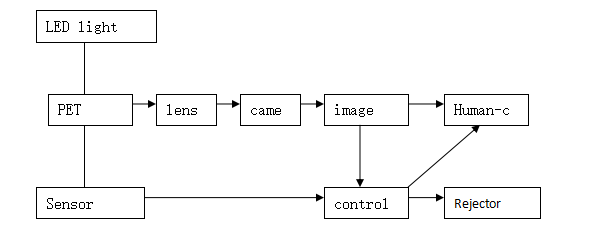
Figure 4: System working principle and flow chart
System Operating Principle and Process
As a bottle passes the positioning sensor, the sensor detects its presence and, via the control unit, records the bottle ID along with the corresponding encoder value.
The positioning sensor then activates the camera, which captures an image of the bottle mouth. Once the image is acquired, it is processed by the image processor. The processed results are transmitted to the HMI for real-time visualization and simultaneously sent to the control unit to prepare for rejecting bottles with defective finishes.
When the control unit receives a defect signal, it instructs the rejector to remove the specific bottle associated with the recorded ID.
4.3 Image Acquisition Components
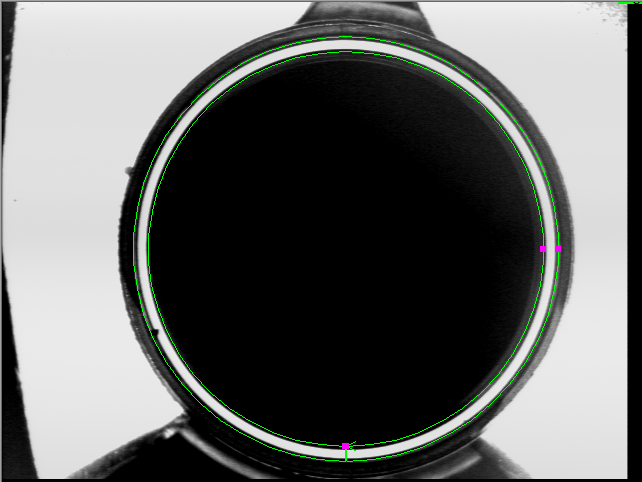
Light Source: An LED area light source with a service life of up to 30,000 hours is used. With front illumination, it ensures the measured features are clearly visible. In the captured image, the bottle mouth appears as a continuous bright ring. A fixed-focus lens with manual aperture adjustment is applied. The focus ring is adjusted to achieve maximum image clarity on the CCD sensor surface, while the aperture ring is fine-tuned to optimize brightness.
Camera: An area-array CCD analog camera is employed, offering a resolution of 640 × 480 pixels and capable of acquiring images at up to 60 frames per second.
4.4 Bottle mouth detection module:
image processing process
4.5 Test Content and Accuracy:
4.5.1 Test Content
A. Through-hole
B. Internal chip
C. External chip
D. Point chip
E. Deformed bottle neck (oval)
4.5.2 Detection Accuracy
serial number
| Inspection Contents | Dimensions | Detection accuracy
| False rejection rate
|
1 | Penetration | Vertical section width 0.8mm, depth 0.25mm | ≥99.99% | ≤0.03% |
2 | Internal Defects | Vertical section width 0.8mm, depth 0.25mm | ≥99.95% | |
3 | External Defects | Vertical section width 0.8mm, depth 0.25mm | ≥99.95% | |
4 | Point Defects | Diameter 0.8mm, depth 0.25mm | ≥99.99% | |
5 | Neck Deformation (Oval) | Diameter difference 2mm | ≥99.95% |

